4) SONY RX100 M3 Digital Camera Review – for Long Exposure Photography
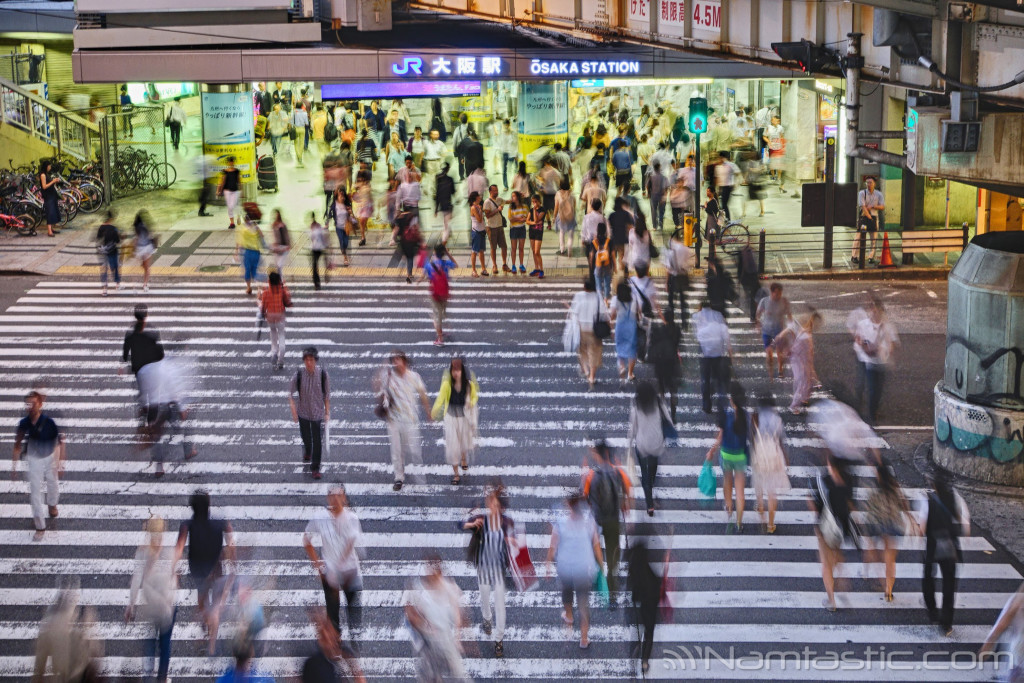
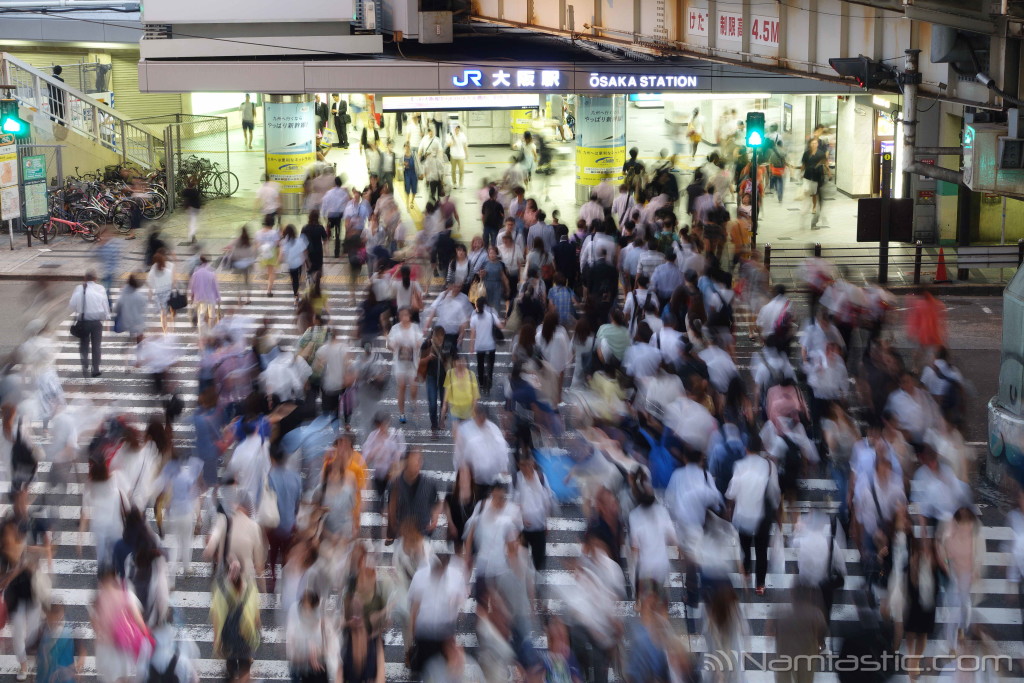
When I set up for long exposure photography I use two accessories. A tripod and a remote shutter. I’m not professional, so I bought a low end, very cheap tripod and remote shutter. I’ll be updating with a review on both of these soon. While I normally shoot by hand with image stabilisation (IS) on, I turn IS off when shooting on a tripod. This is to avoid a feedback loop where the IS system detects its own vibrations even though the camera is still. This can give you blurred photos. Another reason for blurred or “soft” photos is when the action of pressing the shutter button actually nudges the camera. You can minimise this by selecting a 2 second delay with the timer function, or you can use a remote shutter. Both of these tips lead to much sharper photos.
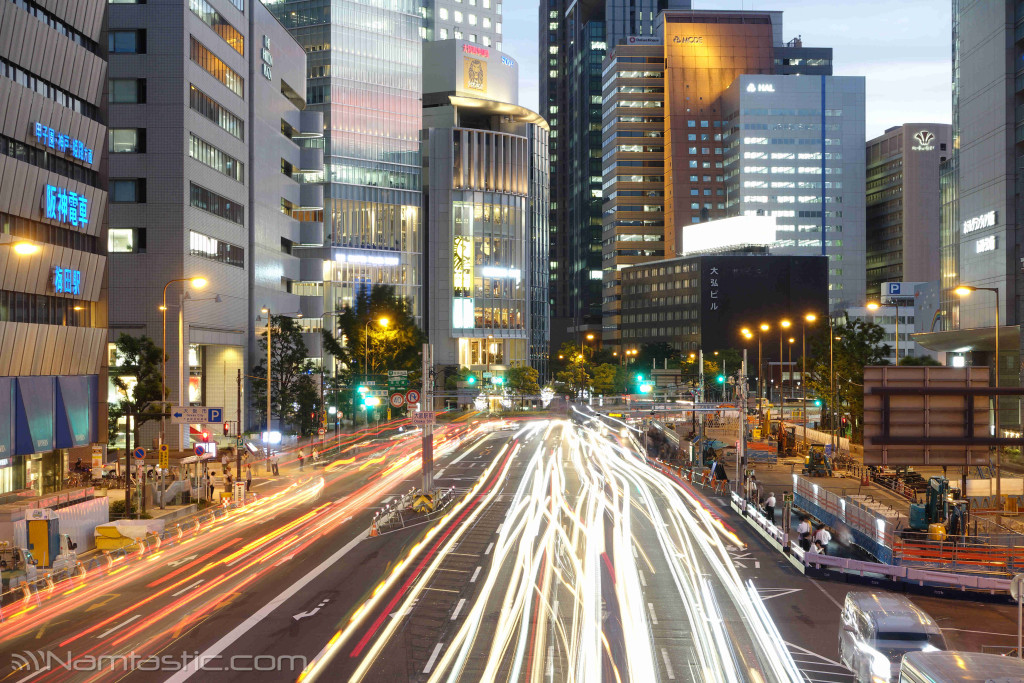
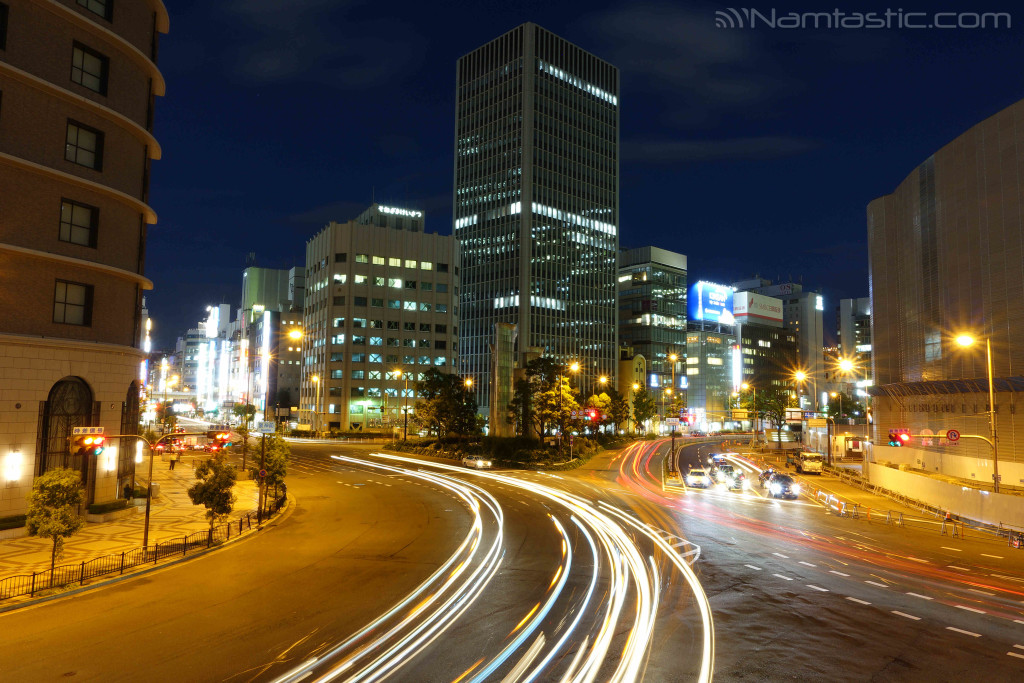
Master low light photos
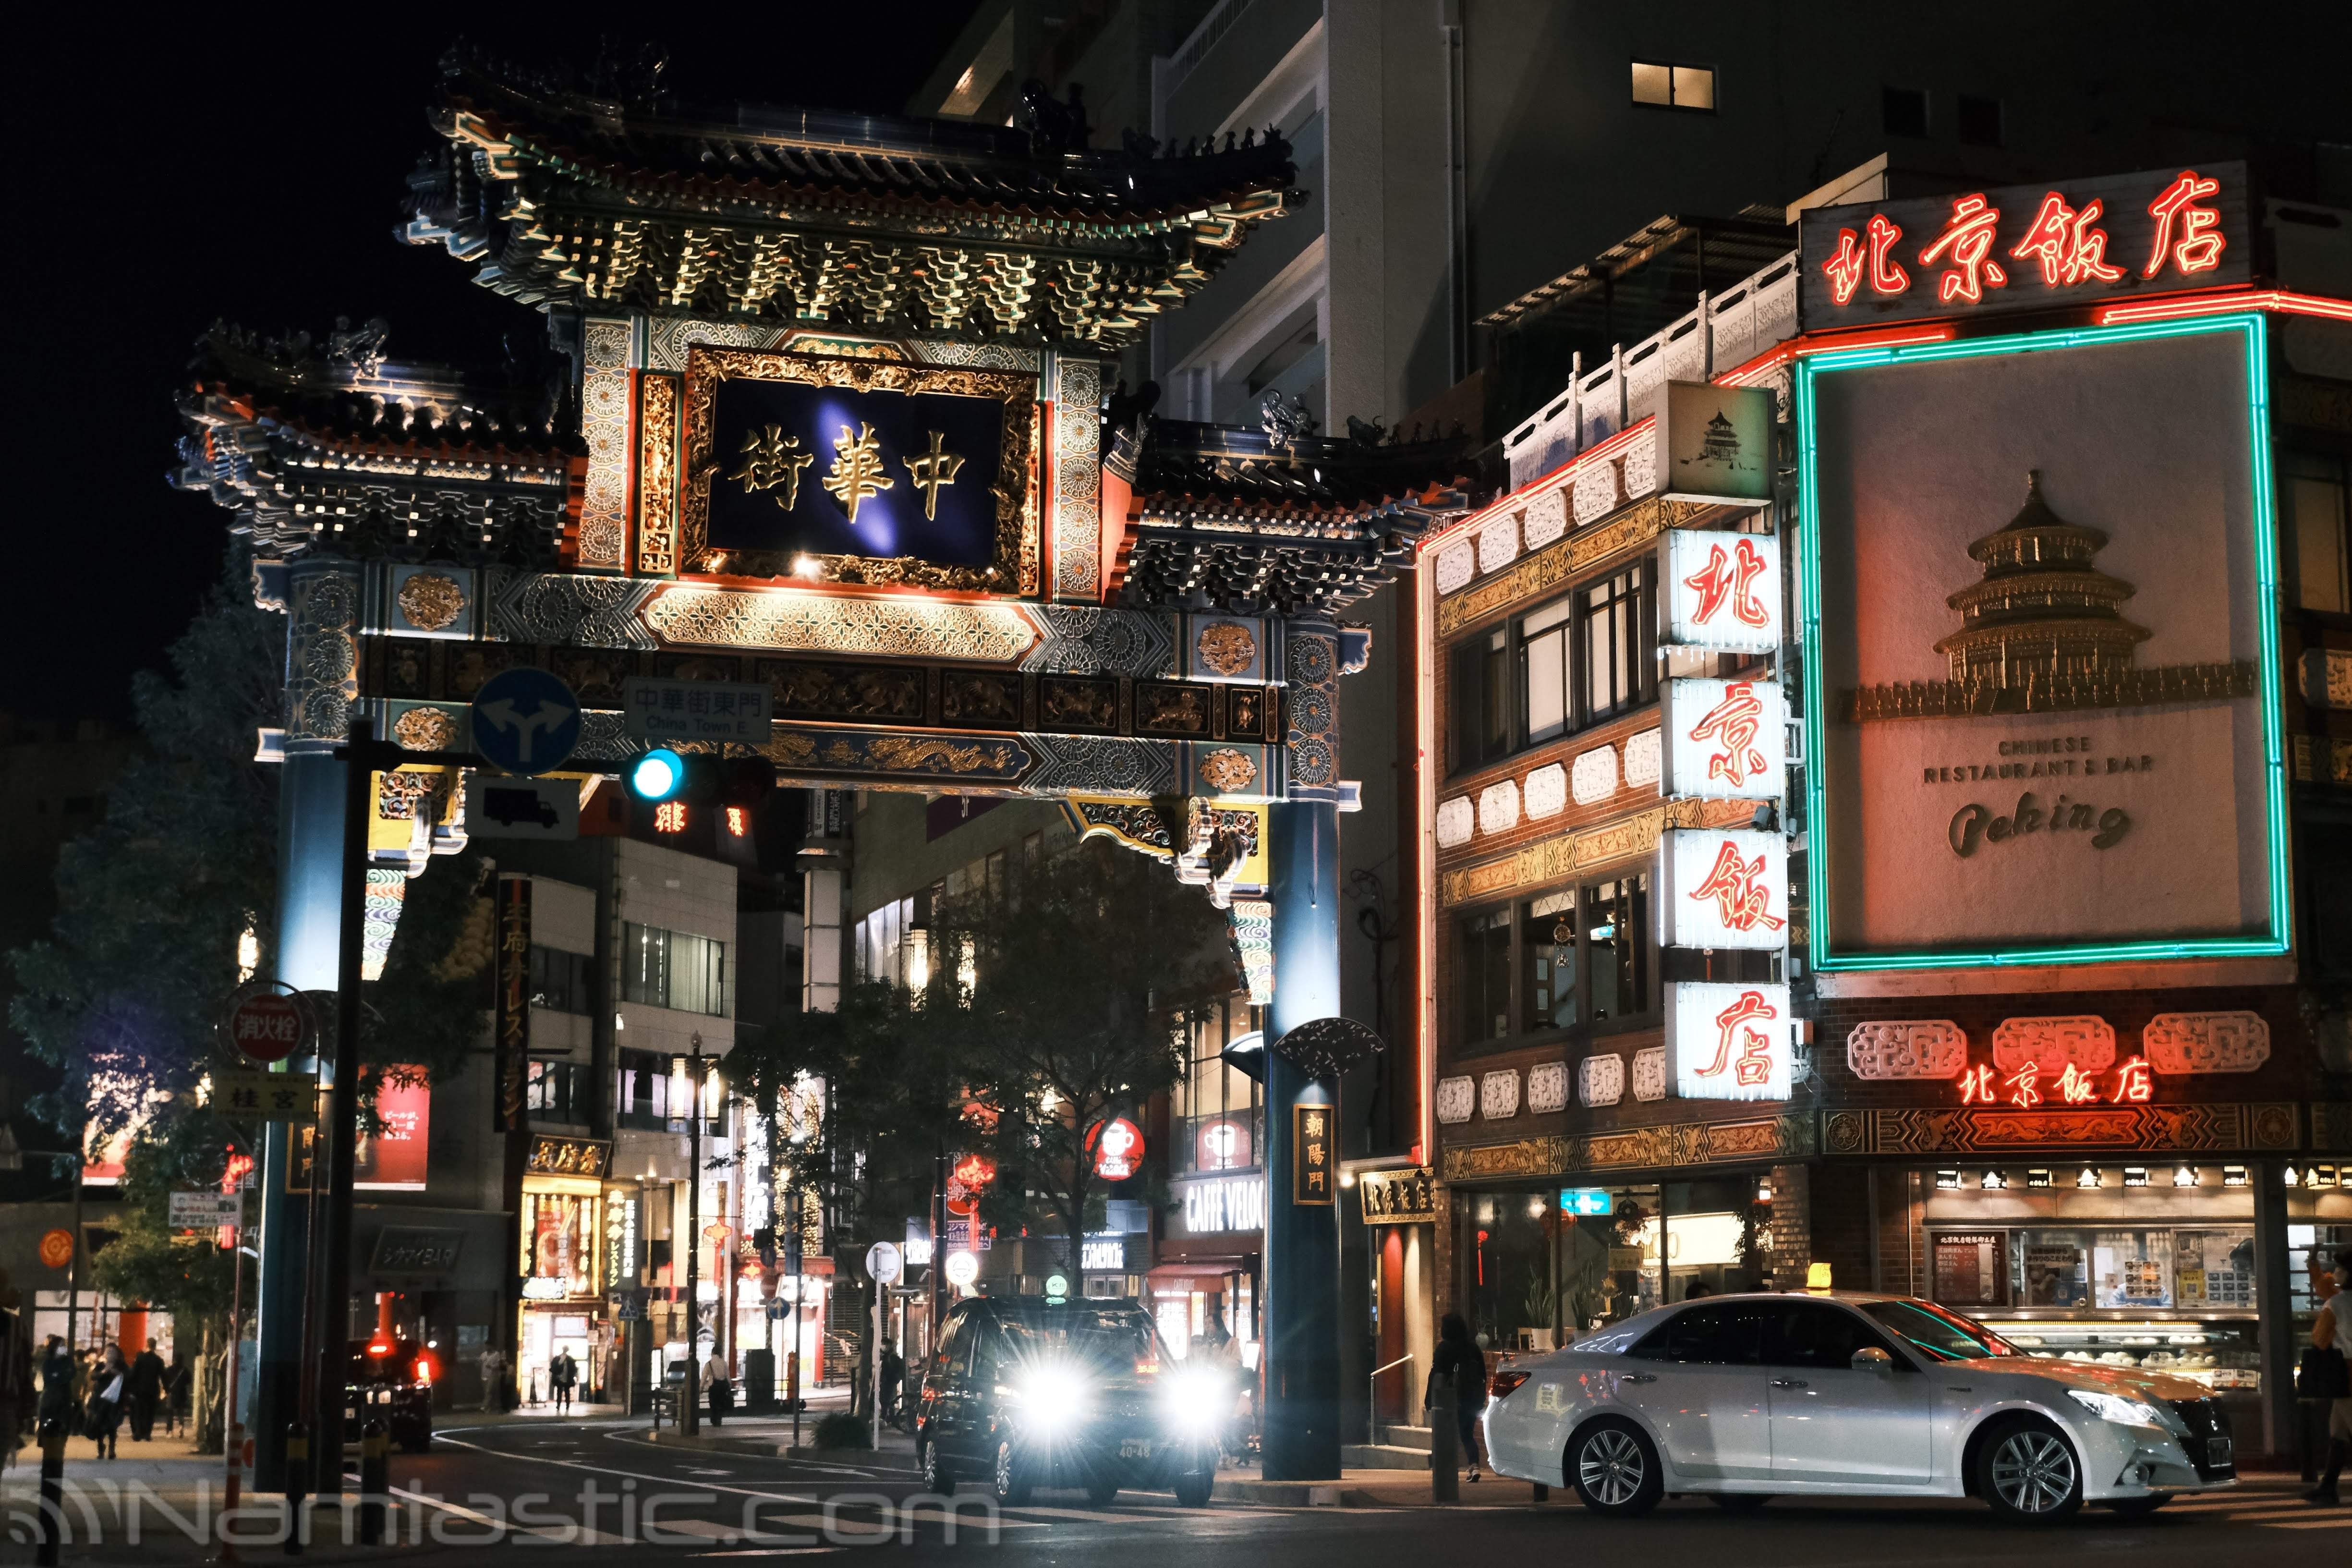
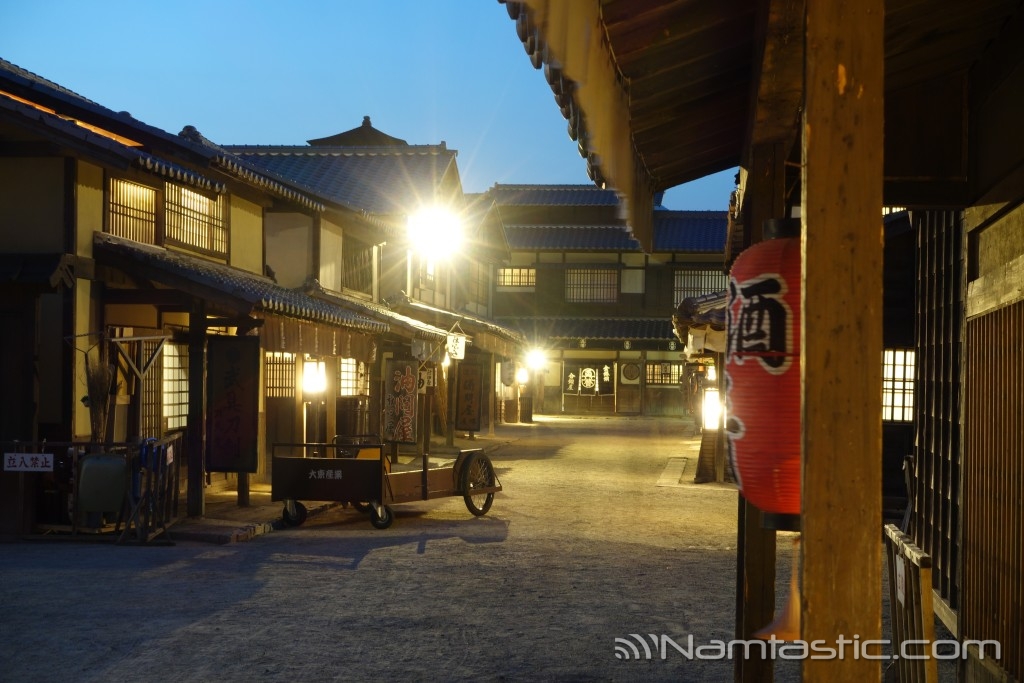
The same preparations for long exposure photography allow you to get well exposed low light photos. The
In-built Neutral Density (ND) Filter
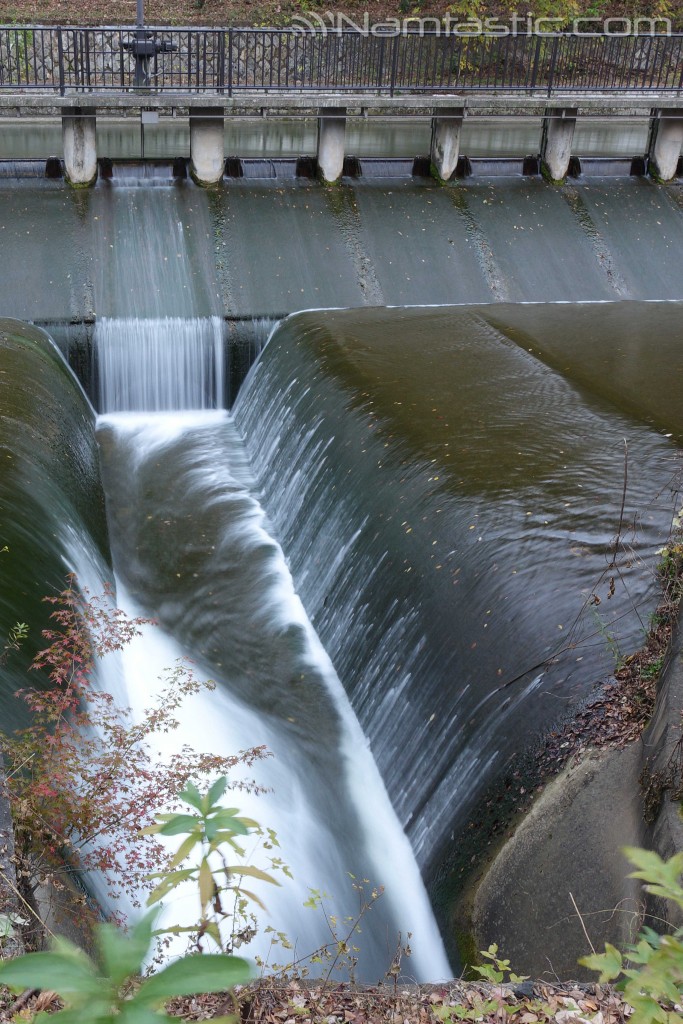
One thing in particular that some users aren’t even aware of is the handy built in Neutral Density (ND) filter. In long exposure photography, if I want to get starry effects in street lamps, I’ll up the F number all the way to F11. Similarly, if I want to get a creamy effect photographing moving water, I can choose a high F-number. To take the camera to it’s maximum potential, I activate the ND filter which gives me 3 more exposure stops.
If you found this review useful, please consider shopping on Amazon through this affiliate link.
1) SONY RX100 M3 Digital Camera Review – Buying Decision
2) SONY RX100 M3 Digital Camera Review – for Street Photography
3) SONY RX100 M3 Digital Camera Review – for Portrait Photography
4) SONY RX100 M3 Digital Camera Review – for Long Exposure Photography
5) SONY RX100 M3 Digital Camera Review – for Landscape and HDR Photography


