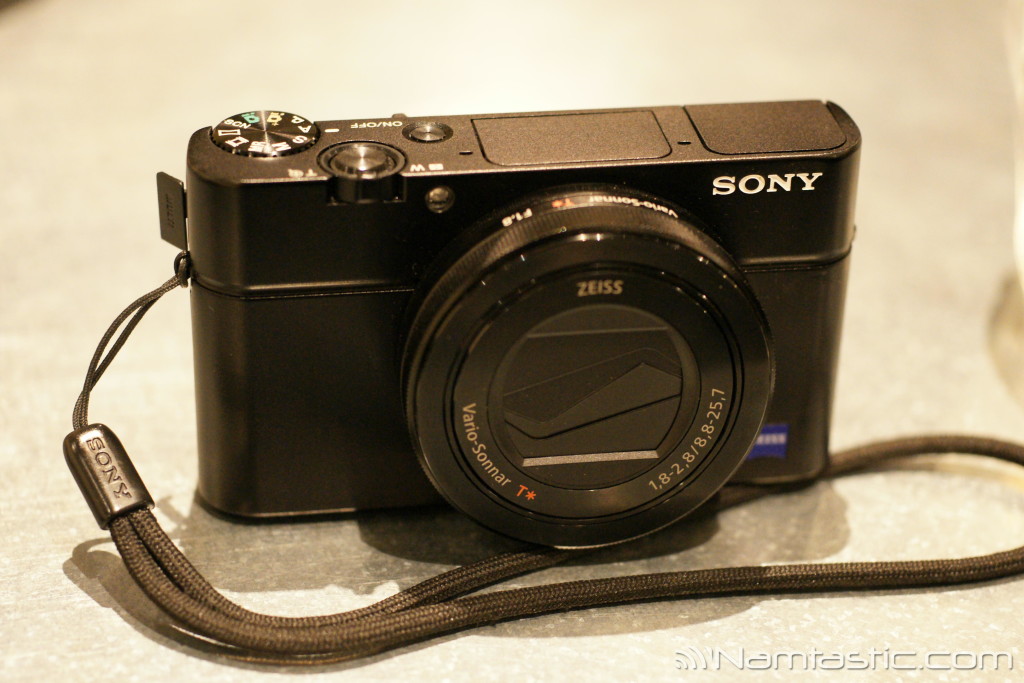
5) SONY RX100 M3 Digital Camera Review – for Landscape and HDR Photography
Although it won’t get you professional grade landscape photos, the RX100 is very capable of capturing beautiful landscapes. With its excellent portability, I’d recommend this camera to travel photographers who want to travel light and not be weighed down by a DSLR and multiple lenses. Too much camera equipment can ruin your vacation and prevent you from walking further and exploring new places. If your objective is to share your photos on social media, chances are people won’t be able to tell the difference if you took the shots on a RX100 or a DSLR. Mobile phones can take some great landscape photos too, and if you’re not sure how to get a better photo with manual settings, you might not even need a RX100.
The RX100M3 comes equipped with a selfie screen (the LCD screen flips up so you can see yourself when you take a photo). This is an excellent feature if you want to take a photo of yourself in front of a beautiful landscape. In this situation you may get a better quality photo than a mobile camera because the front facing cameras on mobile phones are usually lower quality. The RX100 also has a wide lens equivalent to 24mm on a full frame camera. This is typically wider than mobile phone cameras allowing you to get more of the background in. A selfie stick is a good option for a mobile photo, but you probably won’t get the same detail in a landscape shot as the RX100, especially if you use the front facing camera. Like mobile phones, you also have the ability to take panorama shots. You can take high quality photos to stitch together into panoramas in other software too. However, some mobile phones may actually have better panorama software such as photospheres that you can take immediately.
I think the SONY RX100M3 is also great introductory camera for High Dynamic Range (HDR) Photography. There are several modes that can produce HDR photos. The Jpeg mode will take several exposures quickly and merge them in the camera so you can see the result instantly. Jpeg HDR photos will show brightness in the shadows compared to taking one exposure, but I usually find them a bit underwhelming. The manual method to take HDR photos is to set the camera in bracketing mode. Bracketing modes include taking 3 or 5 exposures. You can set the difference in exposure values between the photos too. This can be done taking Jpeg, RAW, or both. With bracketed photos though, you’ll need software to process them into a HDR image. Two free software alternatives I’ve used are HDRMerge and Google Photos. HDRMerge is a program and will require a computer with Windows or Linux. It will merge bracketed photos if you convert them into DNG files first. You will then need a program to process the merged image such as Rawtherapee. Google Photos doesn’t needa program to work on the web or mobile and will automatically convert your bracketed photos into HDR images. However, you have no control over the operation and the jpeg is lower in quality to your original images. It’s interesting to use and exceptionally easy, so I recommend trying it if you haven’t done HDR photography before.
If you found this review useful, please consider shopping on Amazon through this affiliate link.
1) SONY RX100 M3 Digital Camera Review – Buying Decision
2) SONY RX100 M3 Digital Camera Review – for Street Photography
3) SONY RX100 M3 Digital Camera Review – for Portrait Photography
4) SONY RX100 M3 Digital Camera Review – for Long Exposure Photography
5) SONY RX100 M3 Digital Camera Review – for Landscape and HDR Photography